Setting up an AI sales agent is like hiring your smartest team member — except they’re faster, tireless, and don’t need coffee breaks. But for your AI sales agent to hit the ground running, onboarding matters.
In this blog, we’ll walk you through a detailed, step-by-step onboarding process that ensures your AI agent (like Remo) becomes an expert in your product, your tone, your ICP — and starts booking meetings with zero micromanagement.
By the end, you’ll have a fully operational, outbound-ready sales assistant working around the clock.
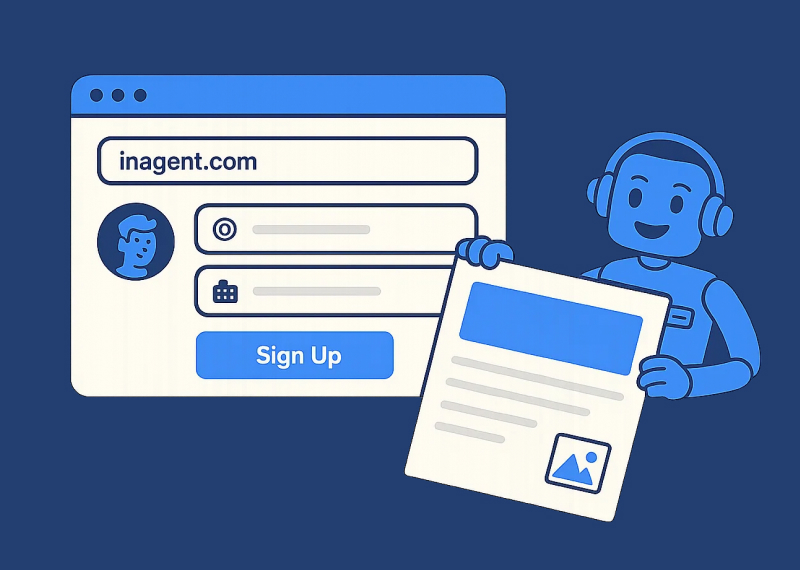
Start by heading to Inagent.com and signing up with your email.
You’ll be prompted to create a workspace — think of this as your agent’s home base.
✅ No long forms. Just your email and company name to begin.
Your AI agent becomes smarter the more it learns about your company, product, customers, and positioning.
Here’s how to train it right:
This is the quickest way to give your agent access to core information — product offerings, pricing, testimonials, etc. Just paste the URL and let Remo scan it.
💡 Tip: Your website becomes the foundational knowledge base.
You can add:
These are read and understood by the AI — not keyword matched, but contextually absorbed.
One SaaS founder uploaded a signed roadmap contract outlining features planned for Q4. Remo used that intel to craft personalized outreach targeting companies needing similar features. 3 meetings booked in 48 hours.
In Remo’s settings, you can specify what sets your product apart:
This helps the agent write messaging that clearly positions your offer.
Remo isn’t a one-tone-fits-all agent.
You can fine-tune:
Target:
Remo won’t send messages on your weekends or holidays unless you tell him to.
You can also define:
Upload a few of your best-performing outbound emails or follow-ups. Remo will analyze:
This helps him match your voice perfectly.
🔥 Result: No robotic language. Your outreach sounds like you, just at 10x speed.
Your AI sales agent needs access to tools for outbound:
This makes Remo a full-cycle agent who doesn’t just email — he updates records and maintains hygiene.
You can now start uploading lead lists or letting Remo find leads for you.
Upload spreadsheets with fields like:
Pull leads directly from your connected CRM (e.g., MQLs, cold accounts).
Tell Remo who you want:
Remo will use B2B databases to build the list automatically.
Remo will suggest a campaign structure:
You can:
Once ready — hit Launch.
From here, Remo will:
Remo is not static. He learns from:
And then auto-adjusts:
All without you lifting a finger.
Upload 1-2 explainer videos — Remo uses them to understand product positioning even better.
From your CRM or past campaigns, tag 10 leads you closed. This trains Remo on what “ideal” looks like.
Remo gives suggestions in your dashboard:
He’s not nagging — he’s optimizing.
In less than an hour, you’ve:
Now your AI sales agent is:
All without a single “Hey, did you send that?” Slack message.
You just hired the most efficient outbound machine on the planet.
Remo is live.
👉 Launch your agent now and go from zero to fully autonomous outbound in one day.
Need help? Our team is always a message away — but honestly, Remo’s probably already got it covered.
Let him work. You focus on closing.